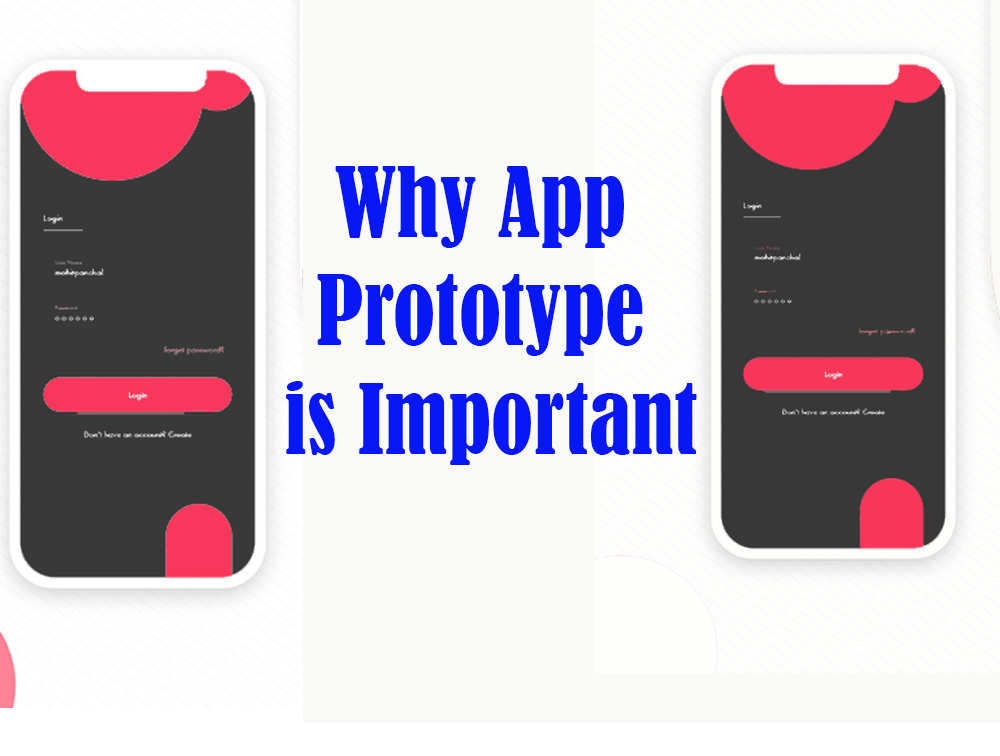
Adeptly developing an app prototype is simpler for appreneurs with a technical background because they are aware of the dos and don’ts of user experience – but for non-techies, if you have not yet contacted a mobile app development firm and want to develop a prototype for investment pitching – this blog is for you.
A prototype’s purpose is to show potential and signed-up clients what they will receive if they hire your services. It not only provides a visual representation of the application you are developing, but it also serves as a point of reference for tweaks and improvements. To get things right, you must create the prototype using the proper process, which we have outlined for you here.
Recognize and Document Requirements
To create an accurate and true-to-requirements prototype, you must first fully understand those requirements. This would necessitate in-depth consultation sessions with the client, during which they would provide as much information about the app as possible. Insist on a structured document outlining their requirements and identifying potential cross-functional elements.
Internal Idea Generation Session
Once you have all of the necessary information, begin analyzing it internally with your development team to convert the requirements into actionable steps that will eventually lead to the final product. In some cases, you may be required to think creatively and implement additional functionality as requested by the client, so plan accordingly.
Begin With Simple Accurate Sketches
Giving detailed design input at this stage is not a priority because you need to clarify how the app’s functions will appear. Focus on UX rather than UI, and make the entire structure appear seamless and fully interconnected without breakpoints. Define each screen thoroughly and include as much information as possible to aid in the design step that follows.
Making Wireframes Out of Sketches
The sketches will then be converted into wireframes. These are low-fidelity outlines of the product that you’ve imagined, complete with precisely placed icons and text, as well as some explanation for each screen. The design aspect is still very basic at this point, and the goal of this step is to pave the way for a final prototype.
Creating the Final Prototype
Now that your wireframe is complete, you can begin work on a prototype that will give the appearance and feel of an actual app. There are numerous tools available that will allow you to do so, some of which will provide an incredible level of accuracy. This is also the stage at which you work hard to develop the UI and make the app look pixel perfect for your client. You could do it yourself or hire a freelancer to do it for you. You’re finally ready to present a completed prototype for your client’s review and feedback, with an accurate design and functionality baked into it for that authentic feel.


